Getting Started with ShutterTime
Getting-started Beginner
Welcome to ShutterTimeShutterTime is a photography planning platform that combines real-time weather data, tide information, and astronomical events t...
4 min read
Published February 14, 2026
Welcome to ShutterTime
ShutterTime is a photography planning platform that combines real-time weather data, tide information, and astronomical events to score every location against your preferred shooting conditions. Instead of checking multiple apps and websites, ShutterTime gives you a single score from 0 to 100 that tells you exactly how good conditions will be for your style of photography.
In this guide, we'll walk you through setting up your account, adding your first photography location, and understanding how the scoring system works.
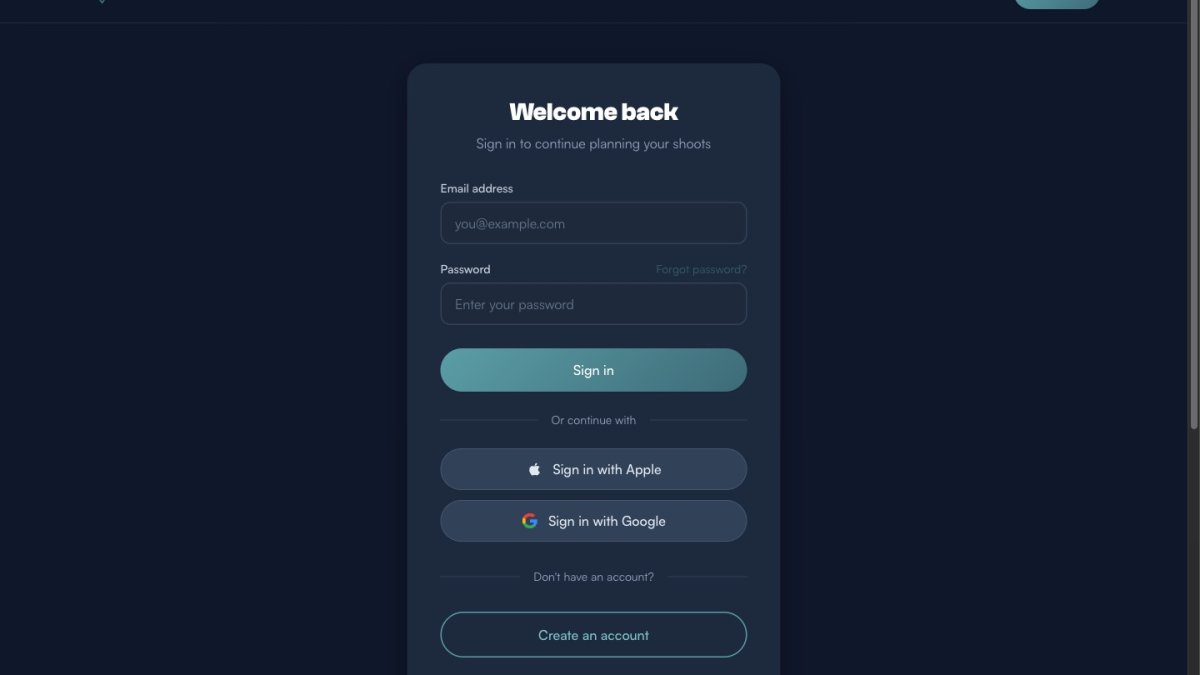
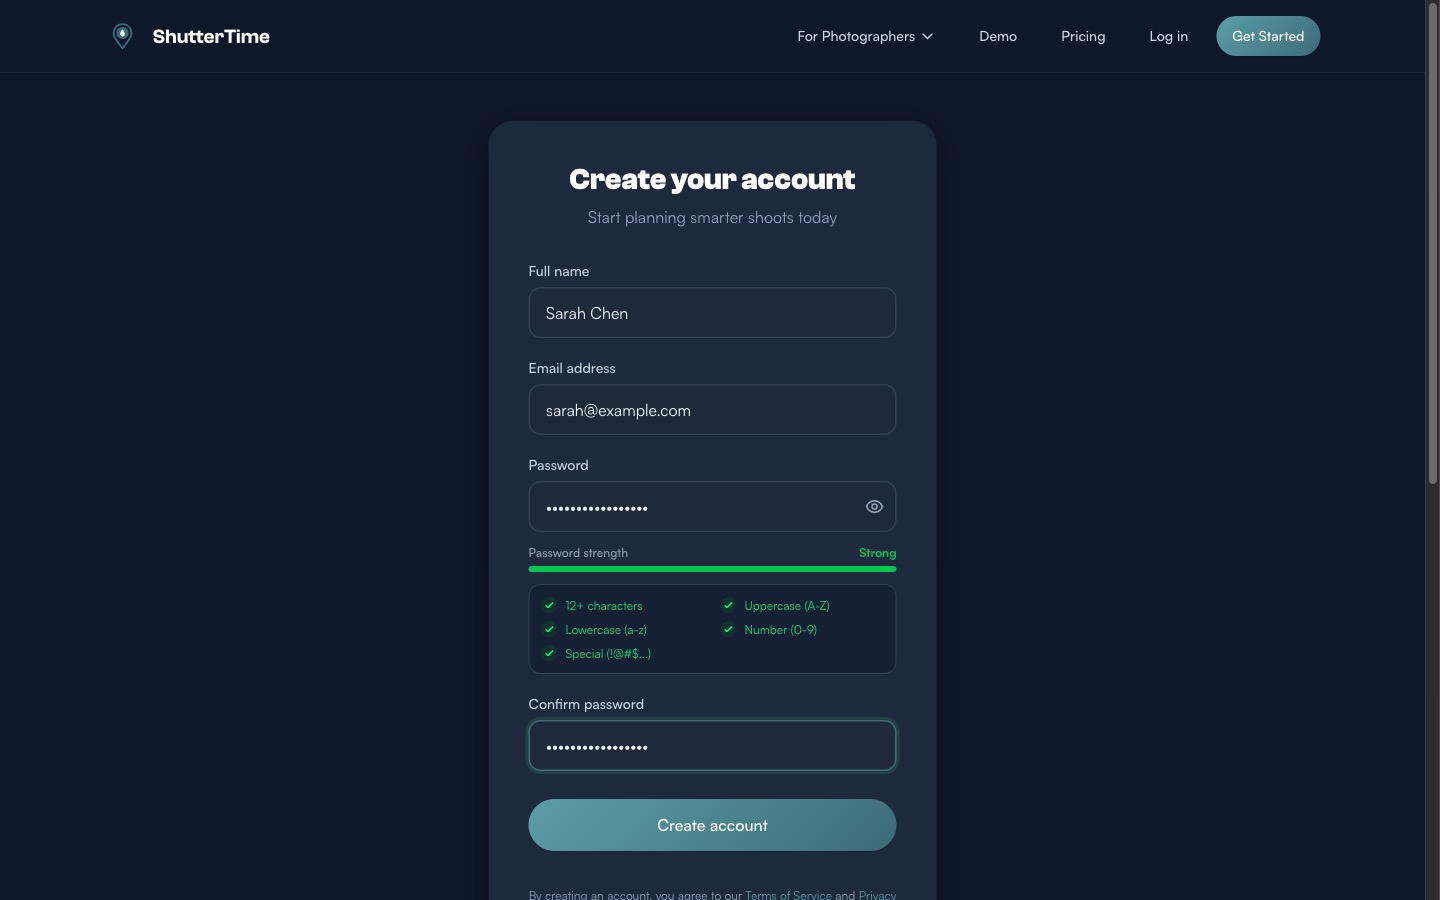
Step 1 — Create Your Account
Head to shuttertime.com.au/signup to create your free account. You'll need to provide your name, email address, and a strong password.
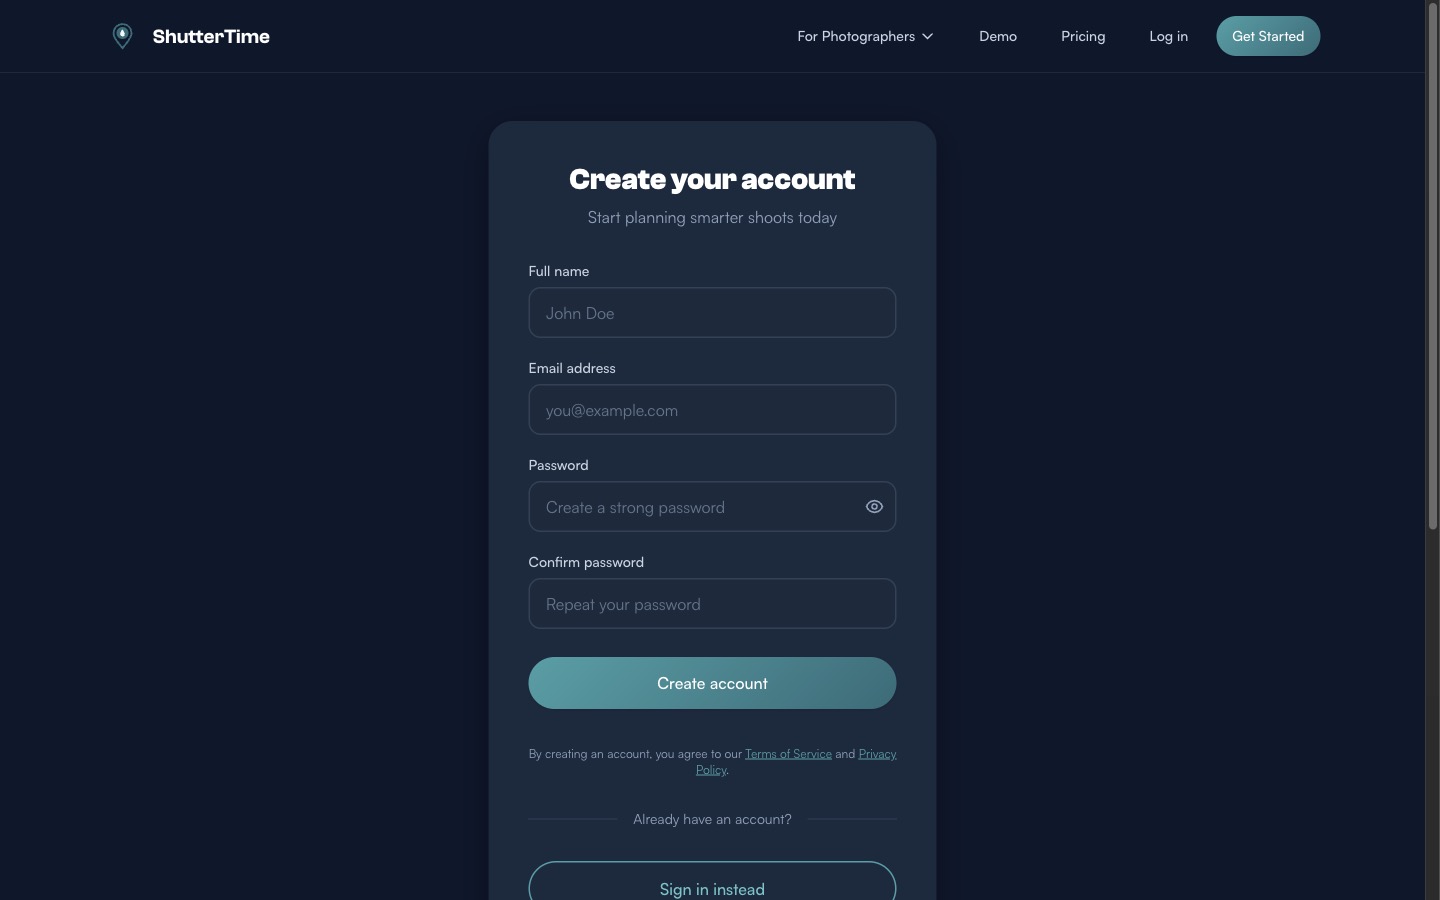
ShutterTime requires a password with at least 12 characters, including uppercase, lowercase, numbers, and special characters. The password strength indicator will turn green when your password meets all requirements.
After creating your account, you'll receive a verification email. You can start using ShutterTime immediately, but some features like collaboration require a verified email address.
Step 2 — Set Your Home Location
After signing up, you'll be guided through a quick two-step onboarding. The first step asks you to set your home base — this is used to calculate travel distances to your photography locations and to set your default timezone.
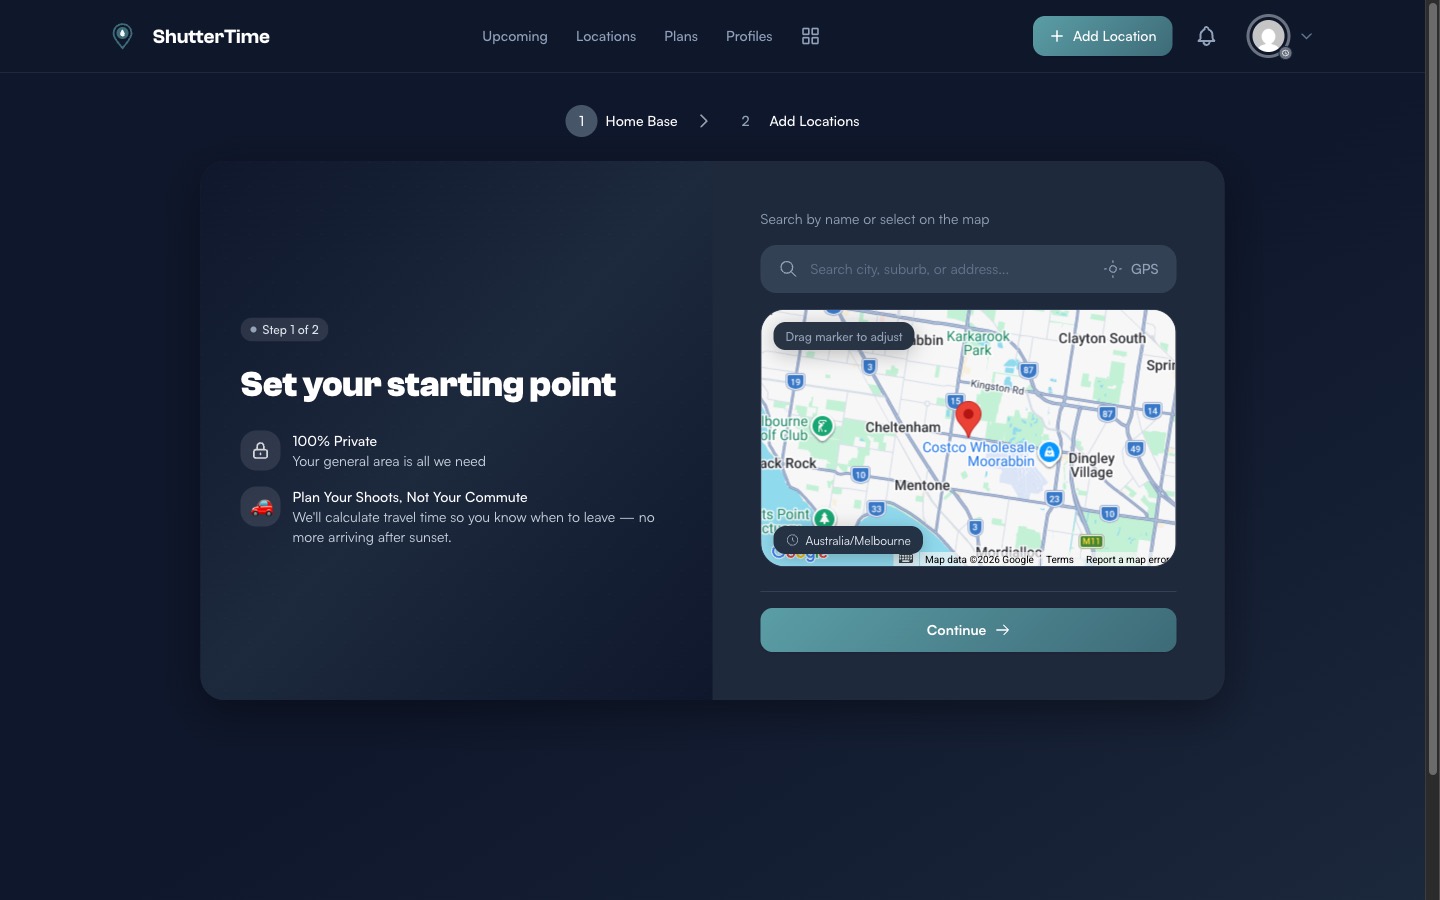
Search for your city or suburb using the search bar, or use the GPS button to detect your location automatically. Your exact address is never stored — ShutterTime only uses your general area for distance calculations.
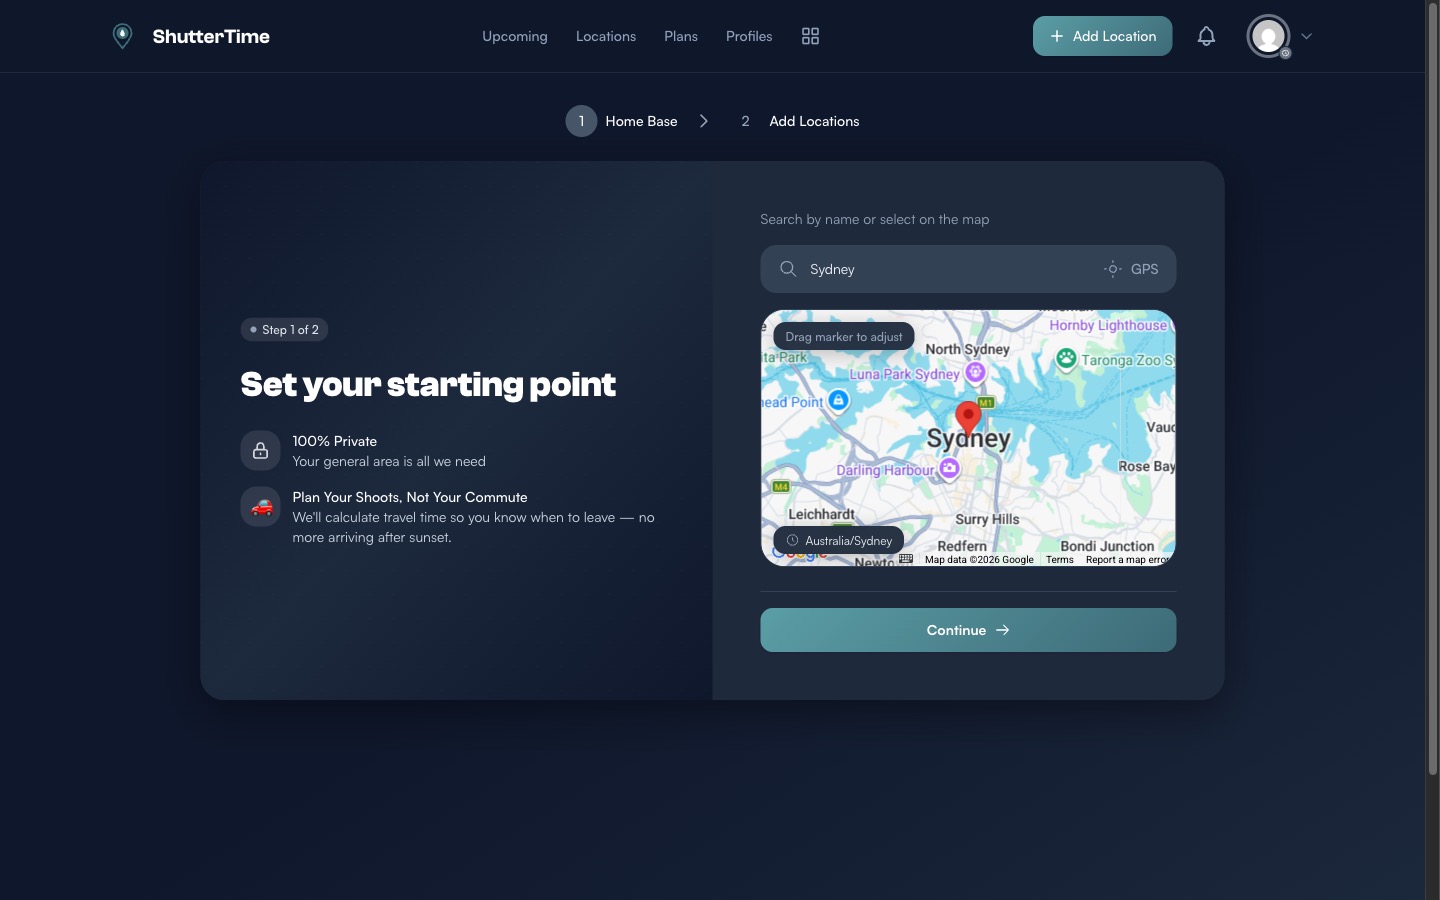
Once you see your city on the map with the correct timezone, click Continue to proceed.
Step 3 — Add Your First Location
Step 2 of onboarding gives you two ways to add photography locations:
- Drop a pin on the map — Perfect if you have a specific spot in mind
- Browse community packs — Curated collections of locations shared by other photographers

You can skip this step and add locations later — click Finish to complete onboarding, then navigate to Locations → Add Location from the navigation bar.
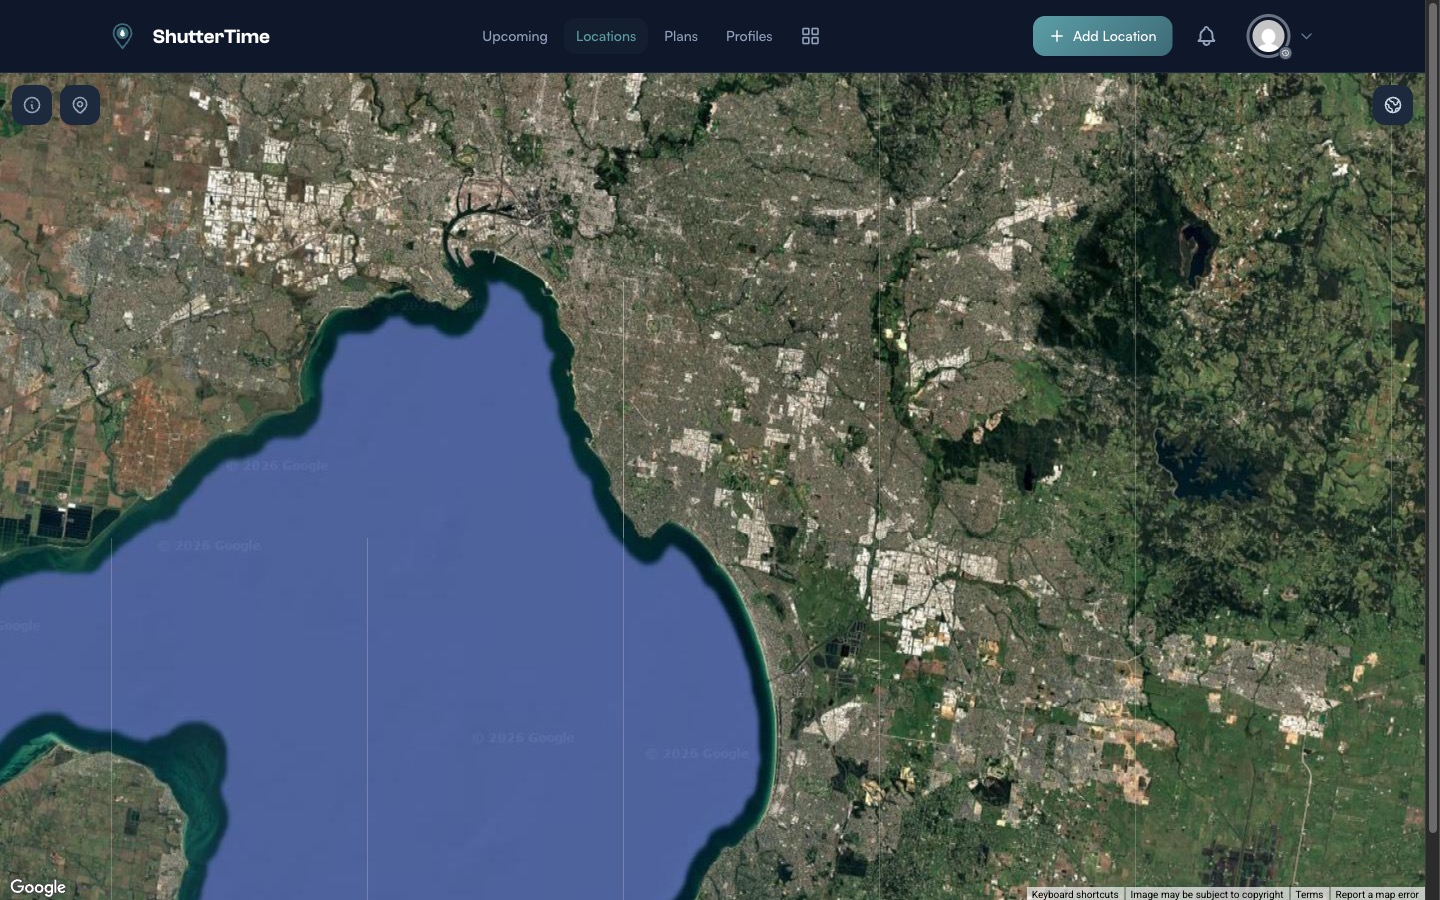
The Add Location view shows a satellite map where you can long-press to drop a pin at any photography spot.
Step 4 — Attach Photography Profiles
After adding a location, you'll want to attach photography profiles — these define what conditions matter for your type of photography. For example:
- Sunrise — Scores based on cloud cover, visibility, and golden hour timing
- Sunset — Similar to sunrise but optimised for evening light
- Seascape — Factors in tide levels, swell, and wind conditions
- Aurora — Tracks geomagnetic activity and clear skies
Here's what a location like Ricketts Point looks like with Sunset, Sunrise, and Aurora profiles attached:
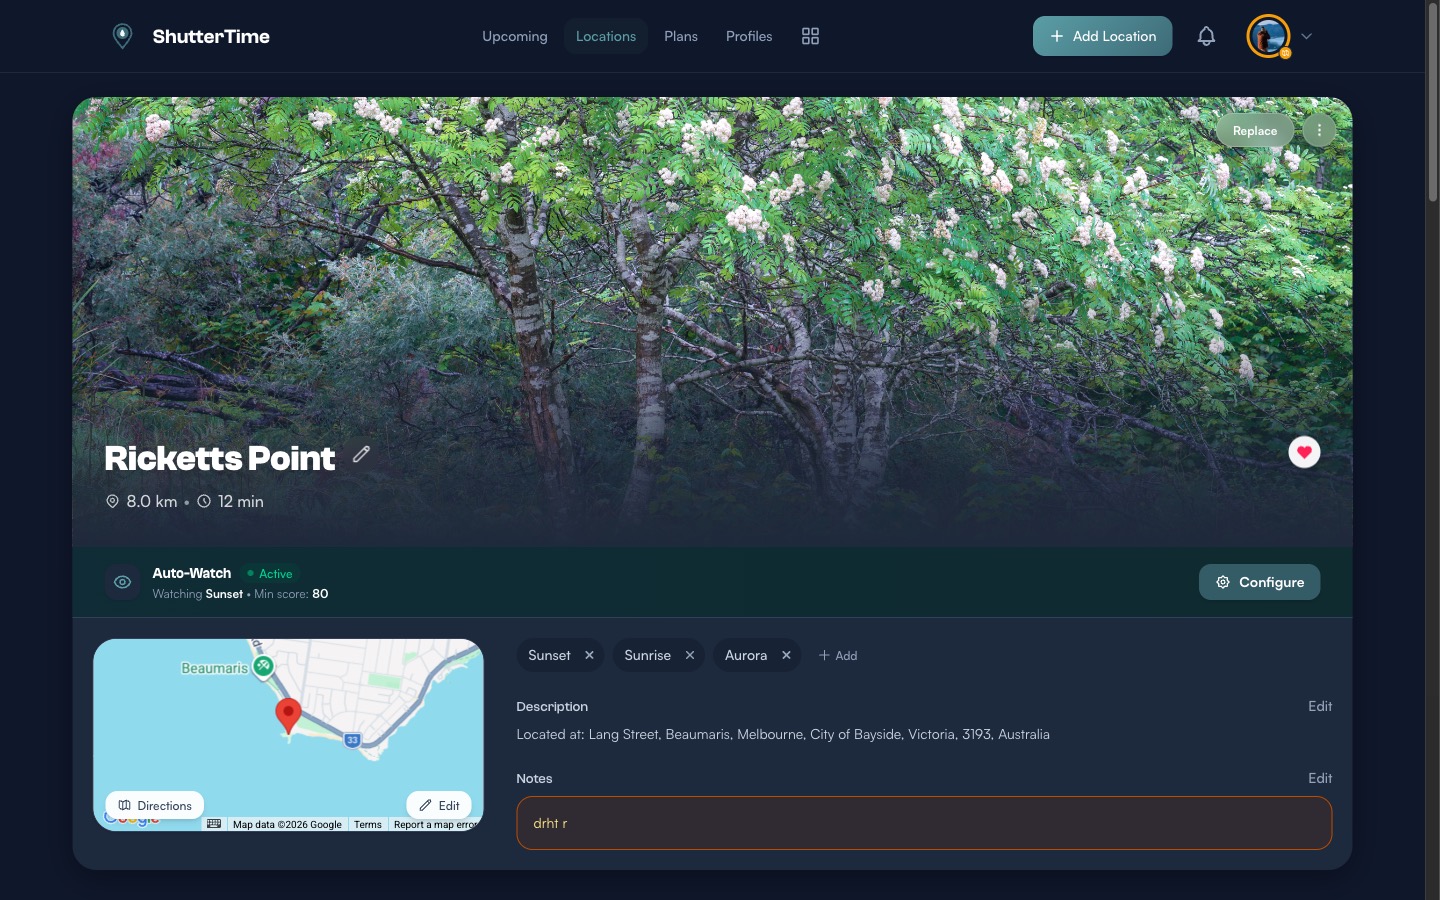
Each profile generates its own score for every time window, so you can see at a glance which conditions will be best for each style of photography.
Step 5 — Your Dashboard
Once your locations and profiles are set up, your Upcoming dashboard becomes your home base. ShutterTime fetches weather data multiple times a day and calculates condition scores for the next 7 days.
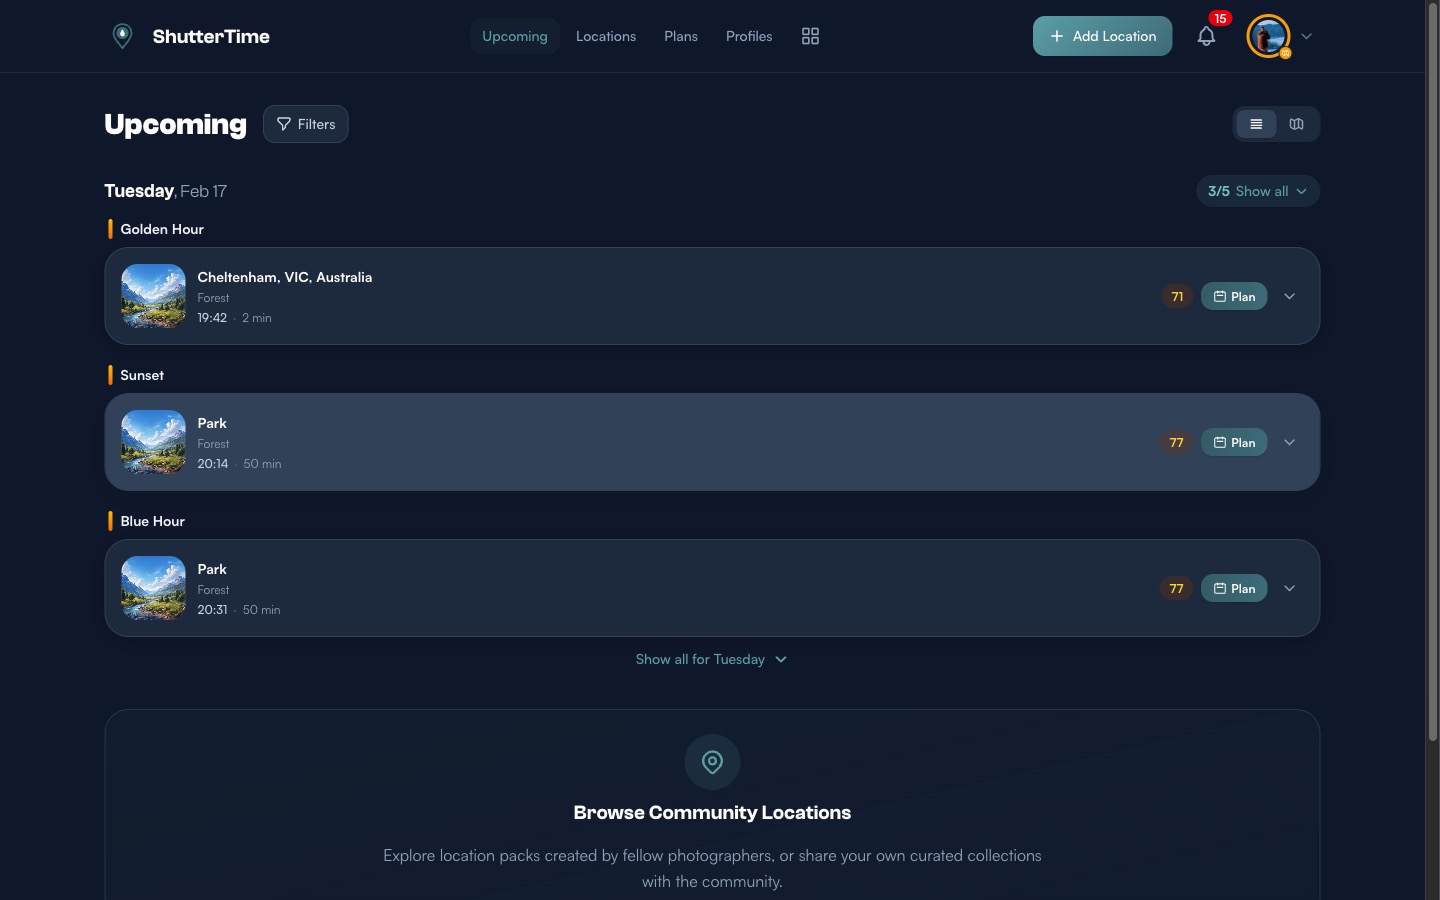
Opportunities appear as cards showing the location, time window, and a colour-coded score:
- 90+ — Exceptional conditions (green)
- 80–89 — Great conditions (teal)
- 70–79 — Good conditions (amber)
- <70 — Fair conditions (grey)
Use the Filters button to narrow by minimum score, profile, or location. Switch between list and map views using the toggle in the top right.
What's Next?
Now that you're set up, here are some things to explore:
- Add more locations — Build a collection of your favourite spots across different areas
- Create custom profiles — Tailor conditions to your exact preferences in the Profiles section
- Set up plans — Schedule photo sessions and get reminders when conditions are ideal via Plans
- Browse the community — Discover location packs shared by fellow photographers at Community
- Install the mobile app — Get on-the-go access with the ShutterTime iOS or Android app
Happy shooting! If you have questions or feedback, use the Send Feedback link in the footer.