Locations & Spots — Organise Your Photography Collection
Getting-started Intermediate
Locations are the backbone of ShutterTime. Every photography opportunity, score, weather forecast, and plan revolves around a location you have saved....
5 min read
Published February 15, 2026
Locations are the backbone of ShutterTime. Every photography opportunity, score, weather forecast, and plan revolves around a location you have saved. Spots take things further—they let you mark specific walkable positions within a location so you can plan exactly where to set up your tripod.
This guide walks you through creating, editing, and deleting locations, then shows you how to add and manage spots inside them.
Your Locations Library
Open the Locations tab in the top navigation bar. You will see every location you have saved, sorted by distance from your current position. Each card shows the location name, distance, estimated driving time, assigned profiles, and—if it has spots—a spot count badge.
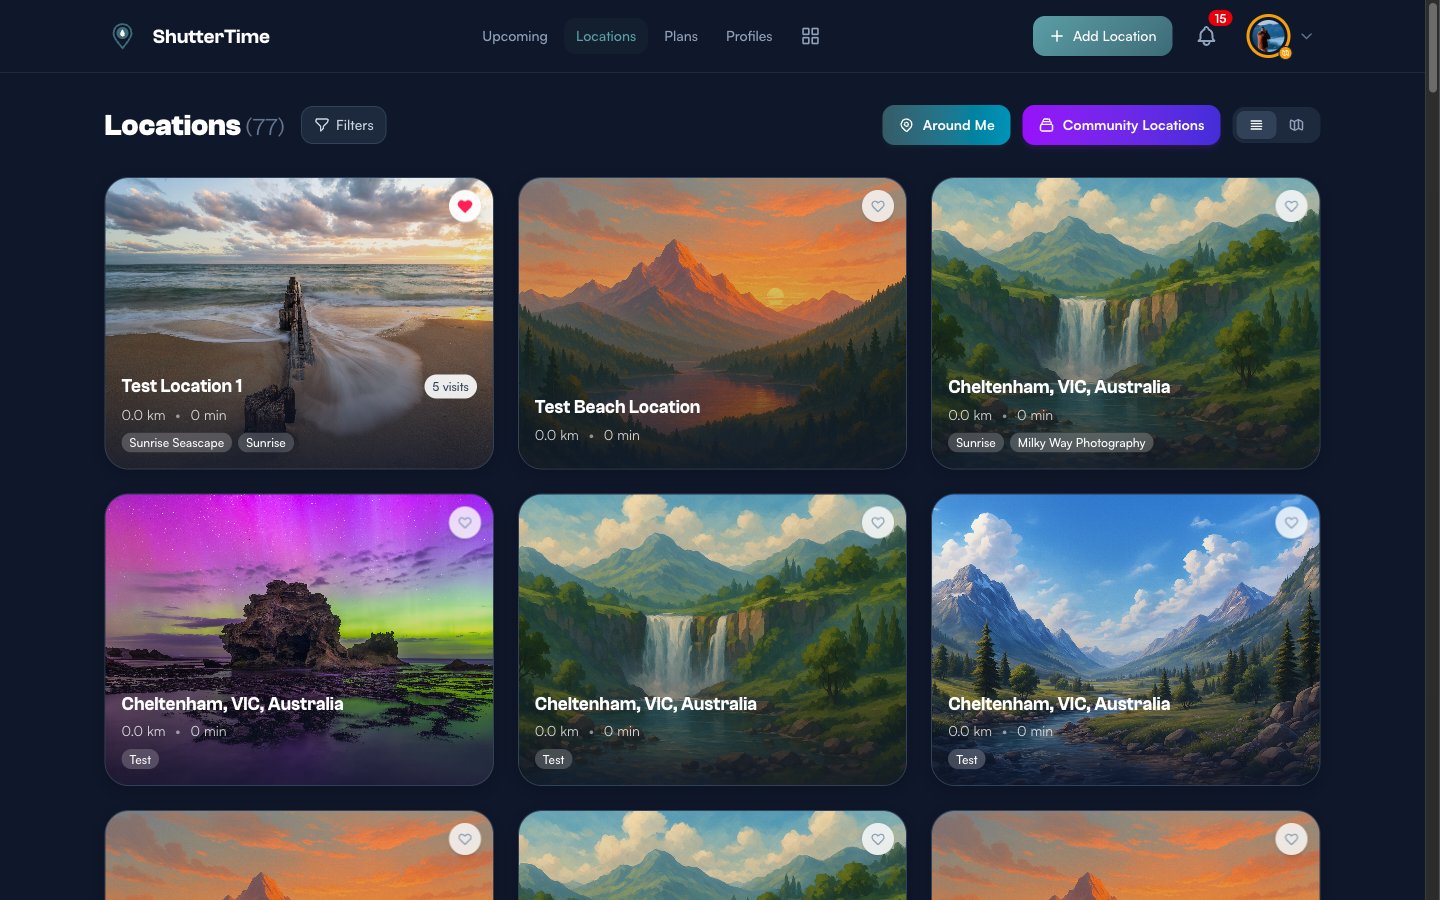
From this page you can also switch between grid and map view using the toggle buttons in the top-right corner, browse Around Me locations sorted purely by proximity, or explore the Community Locations shared by other photographers.
Adding a New Location
Click the + Add Location button in the navigation bar. ShutterTime opens a full-screen satellite map centred on your current position.
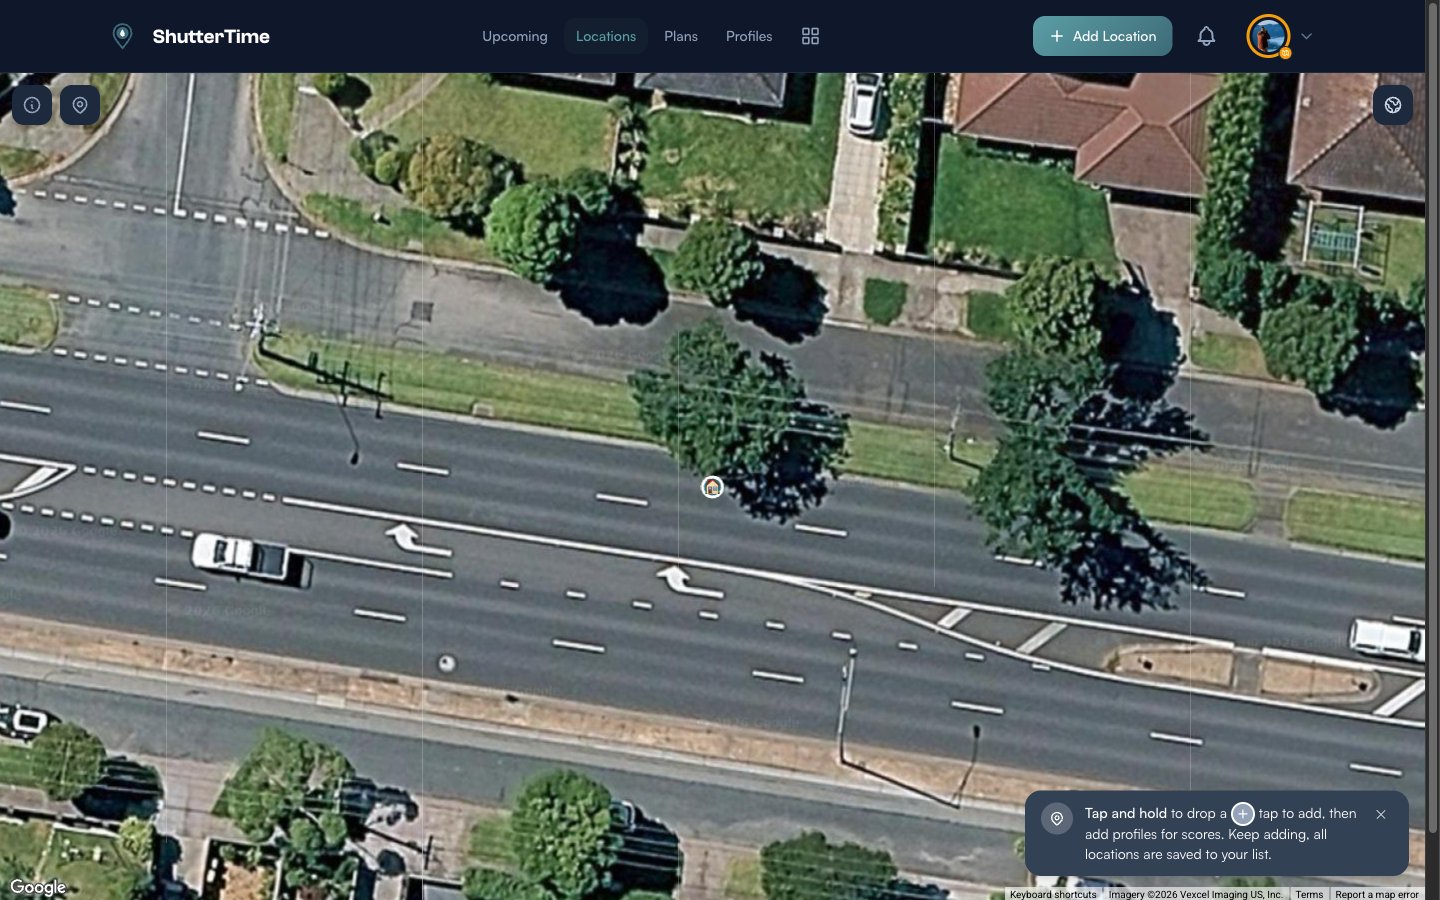
To place a pin, tap and hold (or long-press on mobile) anywhere on the map. A confirmation popup appears—tap the + button to save the location. ShutterTime automatically detects the timezone, reverse-geocodes the address, and begins fetching weather data and calculating scores in the background.
You can keep adding more locations without leaving the map—each one is saved immediately to your library.
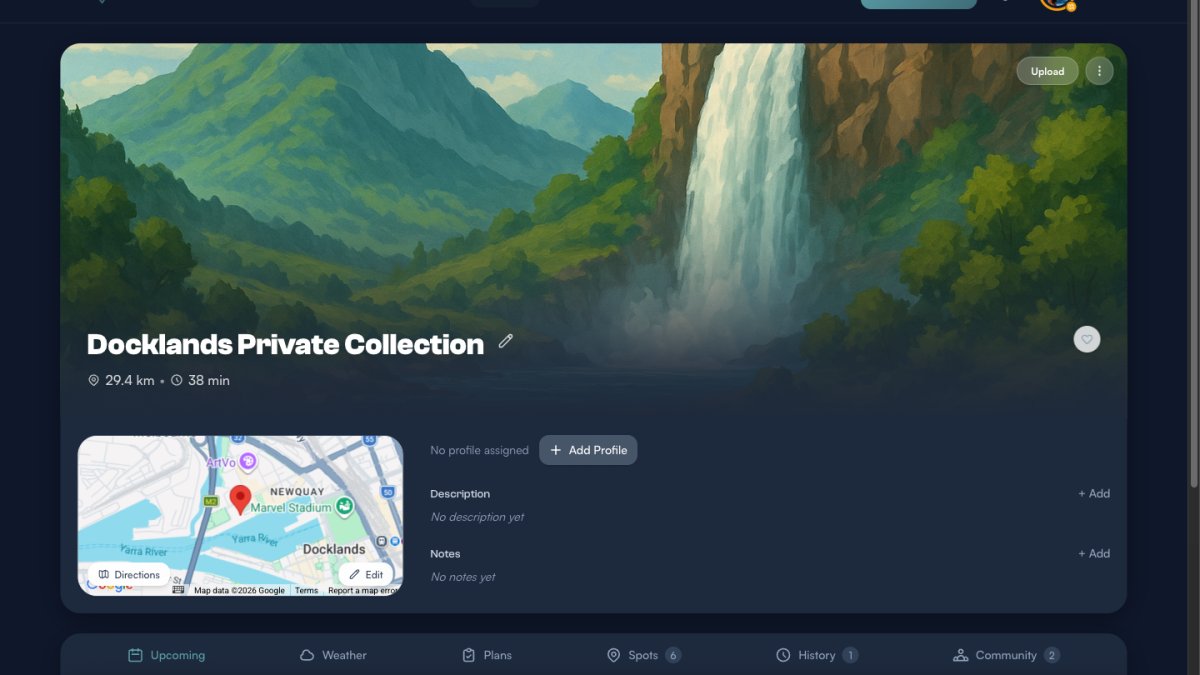
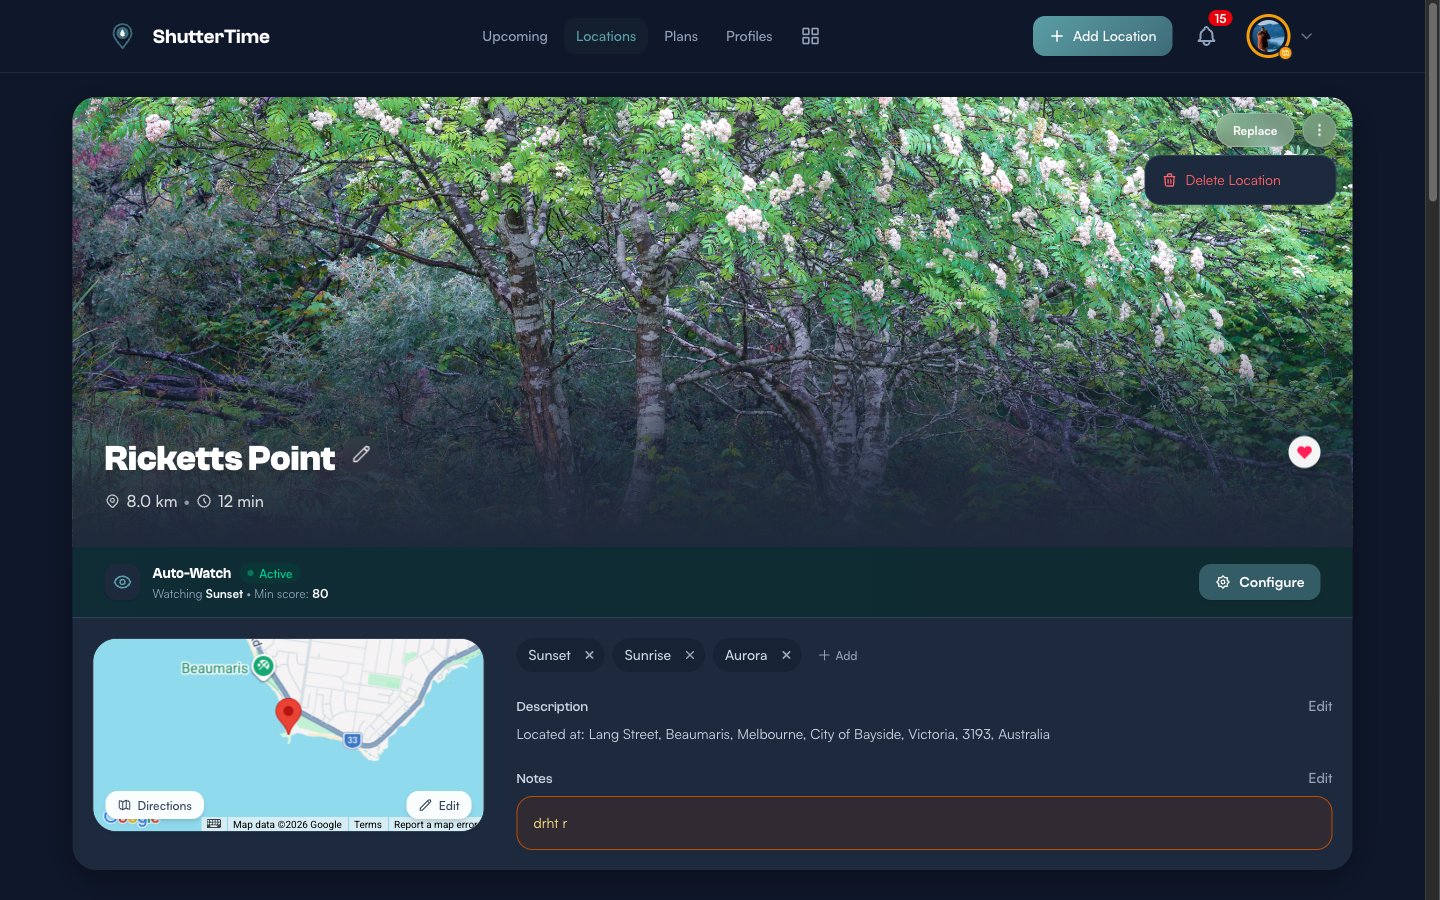
The Location Detail Page
Tap any location card to open its detail page. Here you will find everything about that location in one place.
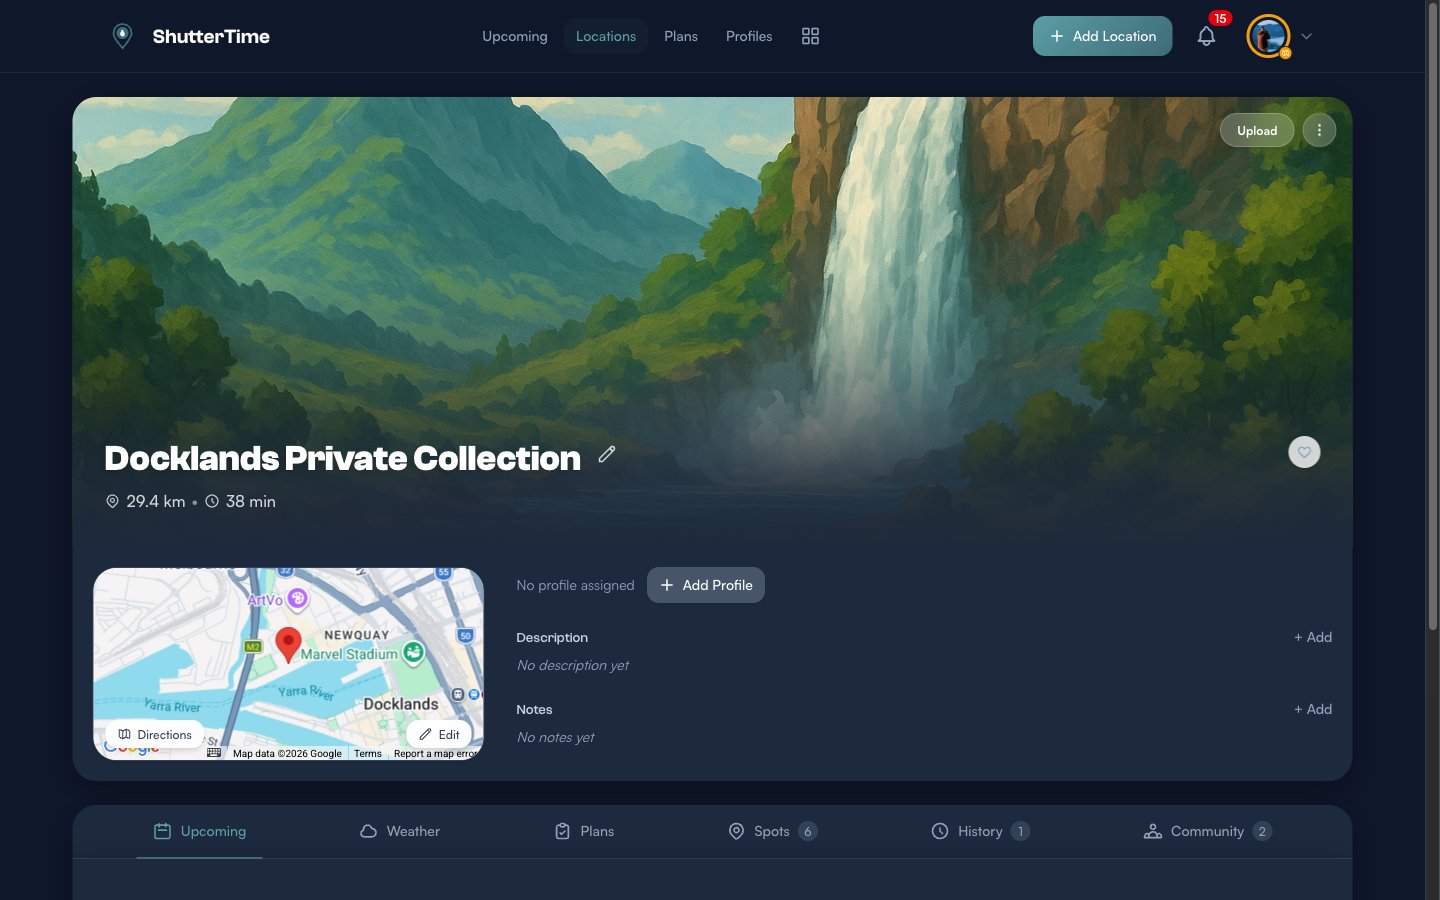
The detail page includes:
- Hero image — upload or replace your own photo of the location
- Title — tap the pencil icon next to the name to rename it inline
- Map — shows the exact pin position with Directions and Edit buttons to reposition the pin
- Profiles — assign photography profiles (like Sunrise, Sunset, Aurora) so ShutterTime calculates opportunity scores
- Description & Notes — add personal notes or descriptions for future reference
- Tabs — Upcoming opportunities, Weather, Plans, Spots, History, and Community
Editing a Location
Almost everything on the detail page is editable inline:
- Rename — click the pencil icon beside the title and type a new name
- Move the pin — click Edit below the map, then drag the marker to a new position
- Add profiles — click + Add next to the profile chips and select from your saved profiles
- Description & Notes — click + Add or Edit to write or update text
- Replace photo — click Replace (or Upload if no photo exists) in the top-right of the hero area

When you add or remove a profile, ShutterTime immediately recalculates all upcoming opportunity scores for that location.
Deleting a Location
If you no longer need a location, open its detail page, click the three-dot menu (⋮) in the top-right of the hero area, and select Delete Location.
Deleting a location permanently removes it along with all its scores, weather history, plans, and spots. This action cannot be undone, so ShutterTime asks you to confirm before proceeding.
Understanding Spots
A spot is a specific position within a location that you can walk to. Think of a location as the general area (e.g. “Docklands”) and spots as the exact vantage points within it (e.g. “the jetty”, “the lookout near the hotel”, “the bridge”).
Key differences between locations and spots:
- Spots live inside a parent location — they appear in the Spots tab, not in the main Locations list or map view
- Each spot shows its walking time from the parent location and a Directions link to Google Maps
- Spots can have their own name, description, coordinates, and a single profile inherited from the parent
- Spots cannot contain other spots — the hierarchy is one level deep
- Spots inherit privacy settings, timezone, and ownership from the parent location
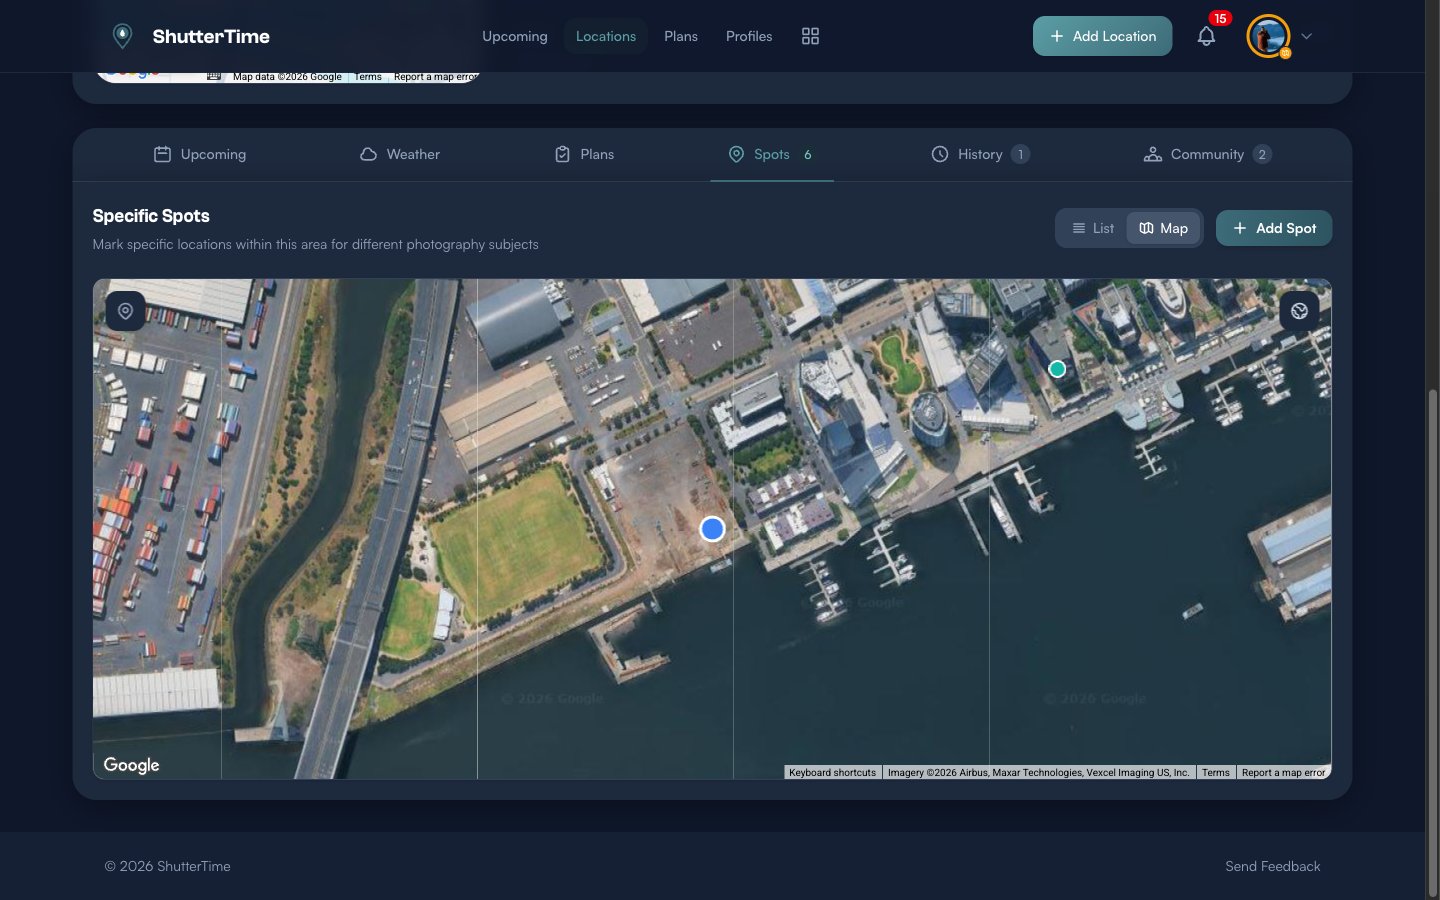
Viewing Spots
Open a location that has spots and tap the Spots tab. You will see a badge showing the total count. The spots appear in a card grid, each with a satellite preview, name, walking time, and a directions link.

Toggle between List and Map view using the buttons at the top. Map view plots all spots on a satellite map alongside the parent location marker, giving you a bird’s-eye view of the area.
Adding a Spot
From the Spots tab, click + Add Spot. The view switches to a satellite map centred on the parent location with existing spots marked.
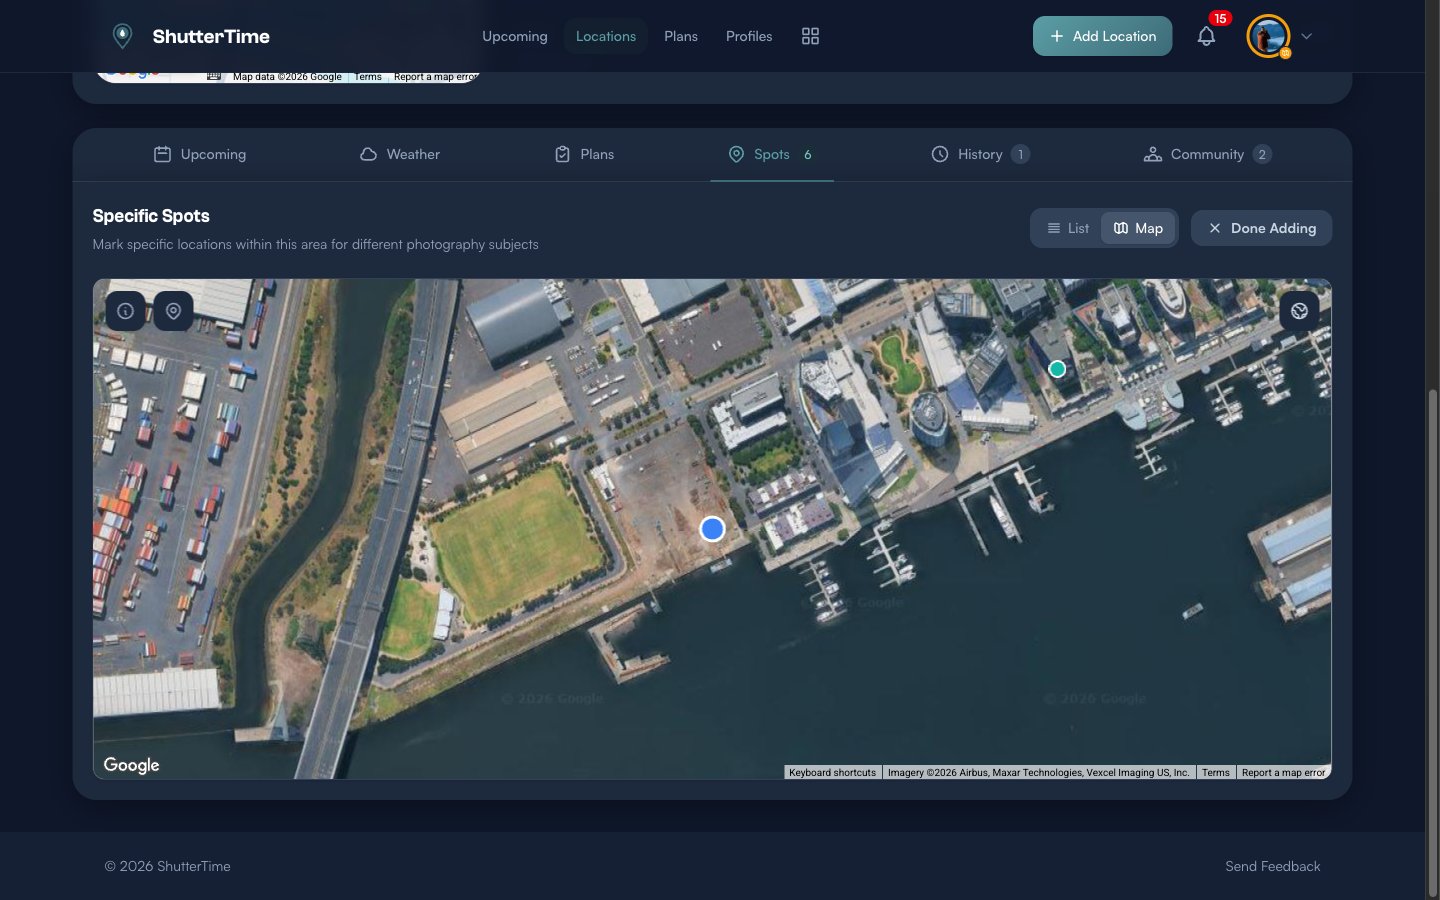
Tap and hold on the map to drop a pin where you want the new spot. A form will appear asking for a name and optional description. ShutterTime auto-calculates the walking distance from the parent location. When you are finished, click Done Adding to return to the spots list.
Viewing a Spot’s Detail Page
Click on a spot name in the list to open its own detail page. It looks similar to a location page—with a hero image, map, profiles, description, and notes—but notice that the tabs do not include a Spots tab. Spots cannot nest further.
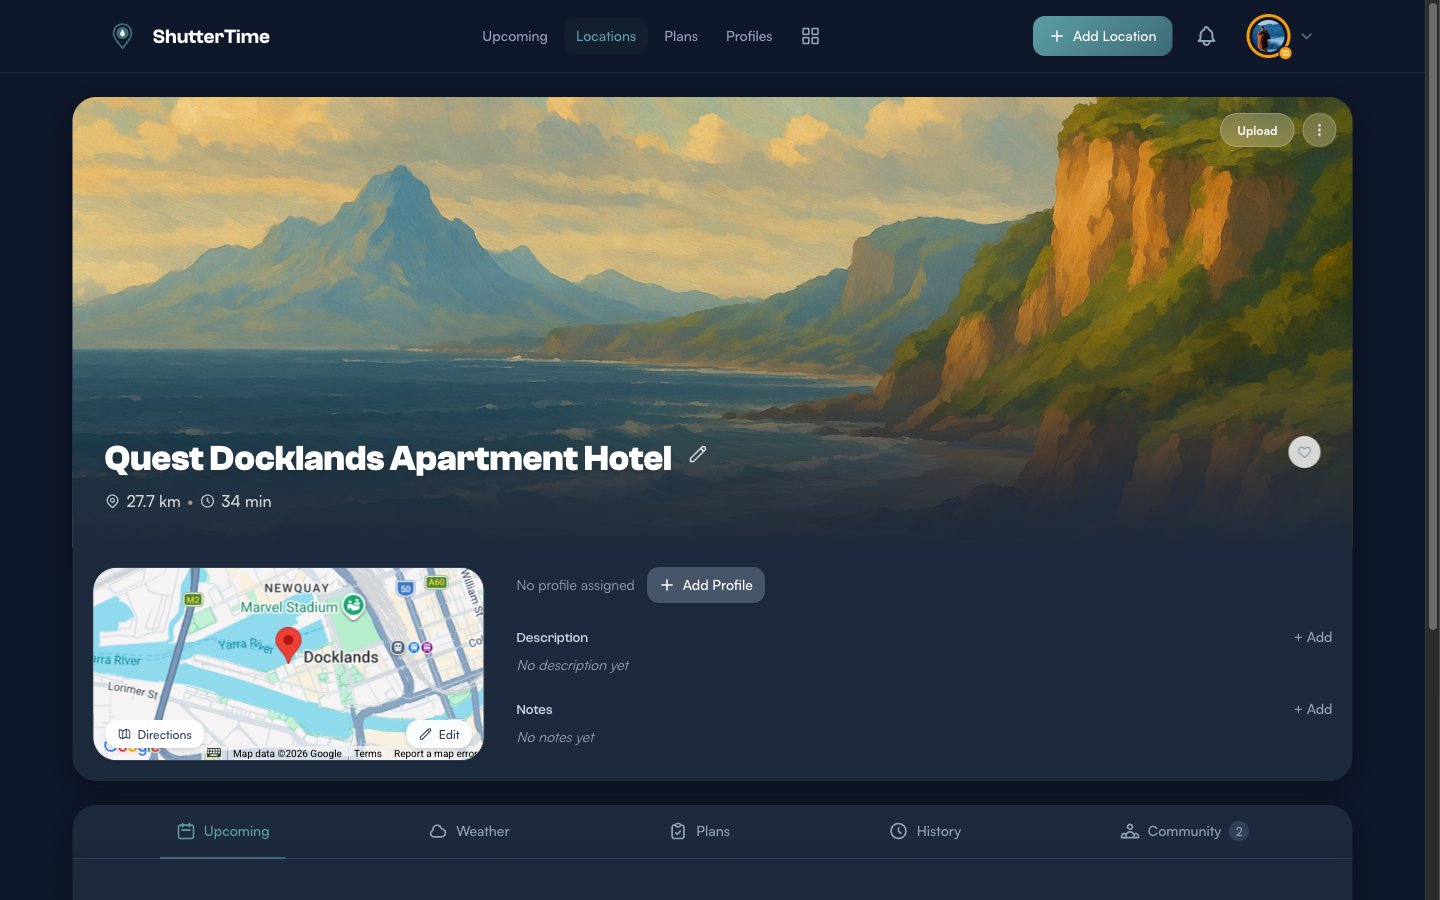
You can edit the spot’s name, description, and coordinates just like a regular location.
Deleting a Spot
Each spot card in the list view has a trash icon button. Click it to remove the spot from the parent location. Deleting a spot does not affect the parent location or any other spots.
What’s Next?
Now that your locations and spots are set up, you can:
- Create photography profiles to assign to your locations and start tracking conditions
- Plan a photo session using the upcoming opportunities on each location’s detail page
- Set up favourites and notifications to stay on top of the best shooting conditions